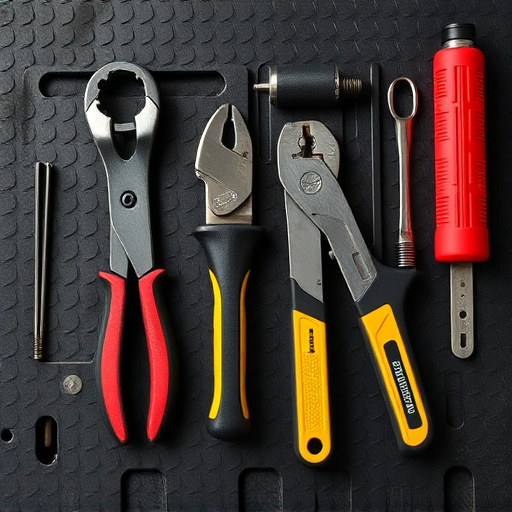


Before replacing a heat shield, prioritize safety by preparing your workspace, gathering tools and materials, and ensuring ventilation. Secure vehicle parking and check fluid levels. For DIY methods, consult experts for guidance to prevent damage during removal and installation, which involves careful alignment and rigorous testing for optimal protection.
Looking to replace your vehicle’s heat shield? We’ve got you covered. This comprehensive guide breaks down the step-by-step process, ensuring a safe and effective heat shield replacement. From preparing for the task with safety as our top priority, to removing the old shield and installing a new one with precise alignment, we cover it all. Follow our detailed instructions for a successful heat shield replacement that keeps your vehicle running smoothly.
- Prepare for Heat Shield Replacement: Safety First
- Removing the Old Heat Shield: Step-by-Step Guide
- Installing a New Heat Shield: Precise Alignment and Testing
Prepare for Heat Shield Replacement: Safety First
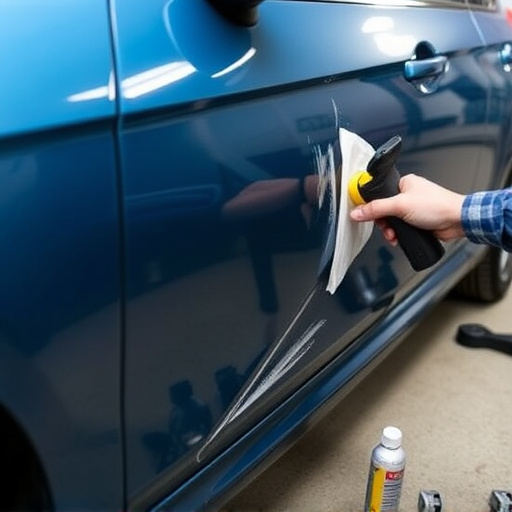
Before beginning the heat shield replacement process, safety should be your top priority. This involves preparing your workspace and gathering all necessary tools and materials. Ensure proper ventilation in the area to mitigate the risk of inhaling harmful fumes from any adhesives or coatings used during the repair. Protect yourself with appropriate personal protective equipment (PPE), including gloves, eye protection, and a respirator if needed.
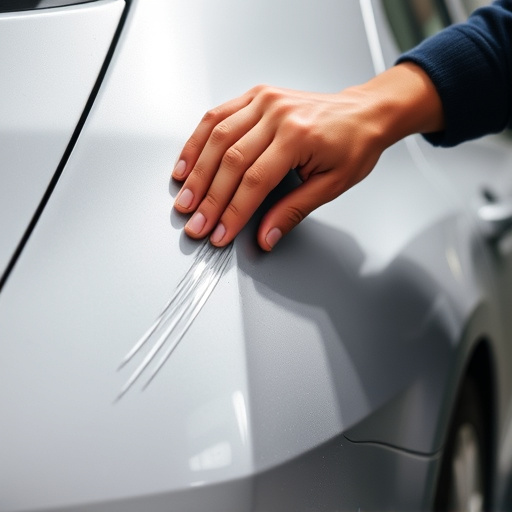
Additionally, make sure your vehicle is securely parked on a level surface, preferably with wheel chocks for stability. Double-check that all fluids are at safe levels to prevent any leaks during the replacement process. If you’re considering DIY methods, consult detailed guides or seek assistance from professionals specializing in car paint services or paintless dent repair. Remember, proper preparation is key to ensuring a smooth and safe heat shield replacement process.
Removing the Old Heat Shield: Step-by-Step Guide
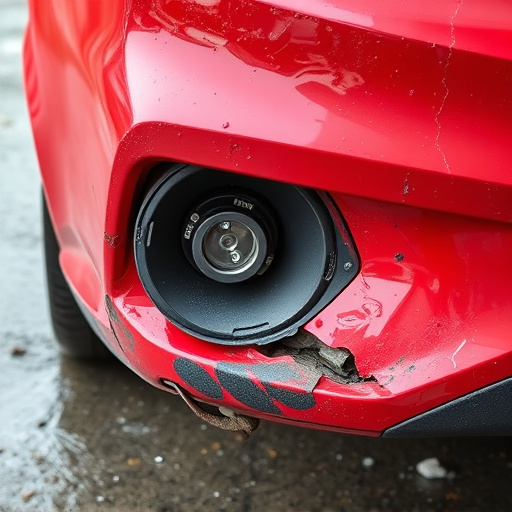
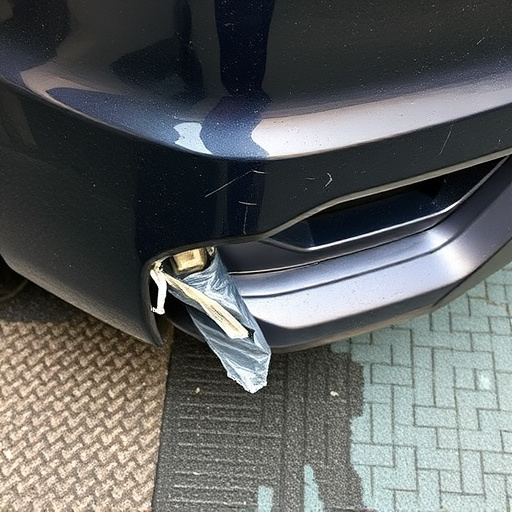
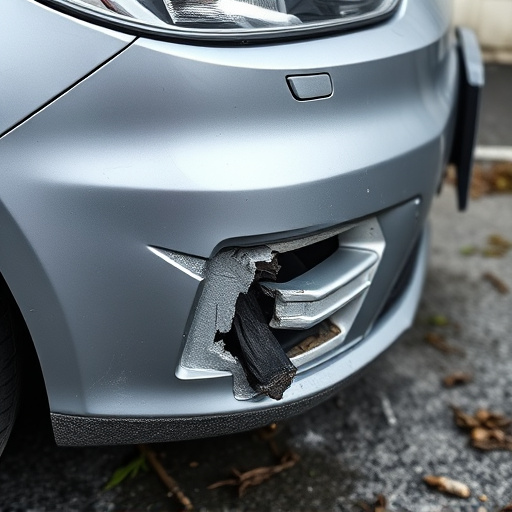
Removing an old heat shield involves a systematic approach to ensure safety and prevent damage during the replacement process. Start by securing the vehicle on jack stands, following the manufacturer’s guidelines for proper support. Next, locate the heat shield, often positioned behind the bumper or under plastic covers. Using the right tools, carefully remove any bolts, screws, or clips securing the shield in place. This may require a mix of wrenches and screwdrivers, depending on the vehicle model. Once these fasteners are removed, gently pull the heat shield away from the car body. Be mindful of adjacent components, like sensors or wires, to avoid accidental disconnection during this step.
For a smooth process, consider marking the position of any attachments before removing them, especially if reattaching requires precise alignment. In cases where the old heat shield is severely damaged or fused to the vehicle, professional assistance from a collision center might be required for safe removal without causing further harm, ensuring a successful bumper repair or fender repair if needed.
Installing a New Heat Shield: Precise Alignment and Testing

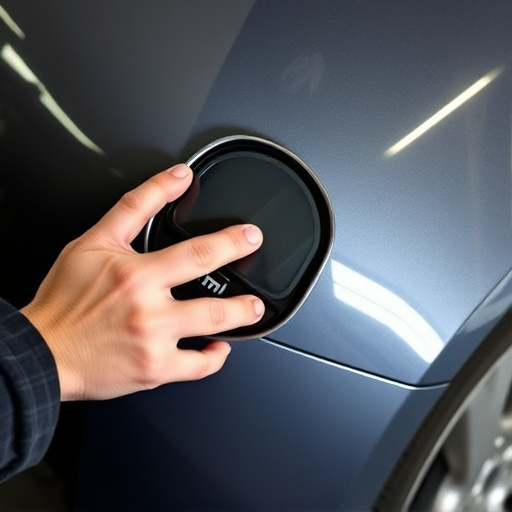
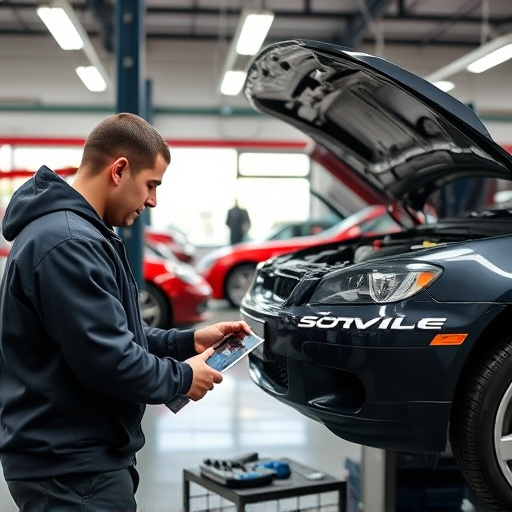
Installing a new heat shield is a precise process that requires careful alignment and thorough testing. After removing the old, damaged or deteriorating heat shield, the new one must be perfectly positioned to ensure maximum effectiveness in protecting the undercarriage from heat and debris. This involves meticulous measurement and adjustments to align the shield’s contours with the vehicle’s specific curves and angles.
Once properly aligned, the new heat shield undergoes rigorous testing to verify its integrity and performance. This includes checking for any gaps or overlaps that could compromise its ability to deflect heat and prevent damage. Advanced technologies may be employed to simulate real-world conditions, such as high-temperature exposure and impact tests, ensuring the heat shield replacement performs optimally in both collision center and classic car restoration scenarios.
Heat shield replacement is a precise process that, when carried out correctly, can significantly enhance vehicle performance and safety. By following these detailed steps—from preparation to installation—owners can ensure their cars are equipped with top-quality components, reducing friction and increasing efficiency. Remember, proper alignment and thorough testing are key to a successful heat shield replacement, ultimately contributing to a smoother driving experience.